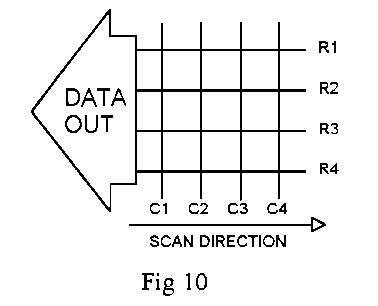
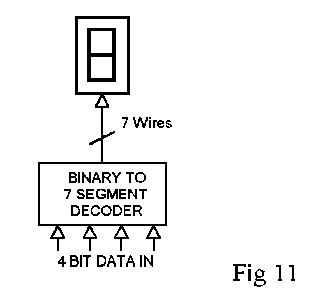


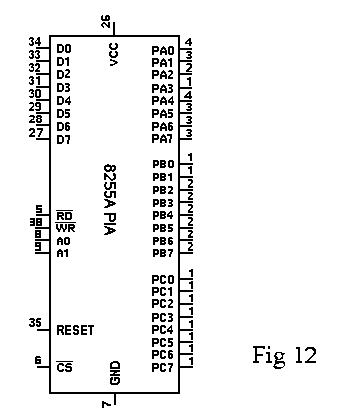
Providing visual user feedback is a four digit 7 segment display, one simplified section being shown in Fig. 11. The 4 bits of output data from the interface IC is converted to 7 lines suitable for driving the LED segments via resistors. Bridging the keypad and 7 segment converters is the interface device itself, the 8255 PIA (Peripheral Interface Adapter) shown in Fig. 12. Ports A and B each have eight output data pins which together provide the 16 lines required for connection to the four 4 bit binary to 7 segment converters. PA0 is thus the lowest binary weighting and PB7 the highest. As with all other ICs in a microcomputer system, the data pins are simply connected directly to the data bus and receive or load data under CPU control. The remaining pins of the PIA control its functions and therefore connect to the CPUs system control. Fig. 13 shows how the keypad and display are connected to the PIA.
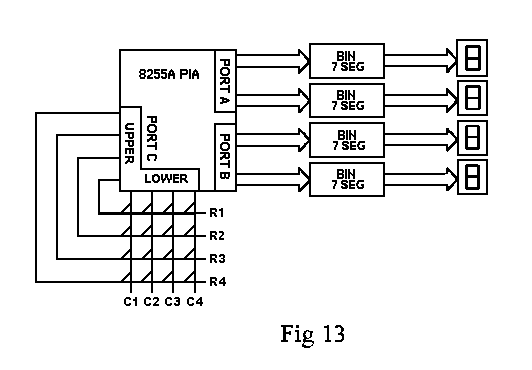
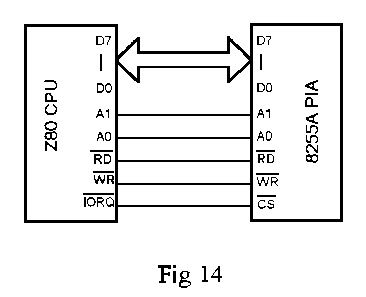
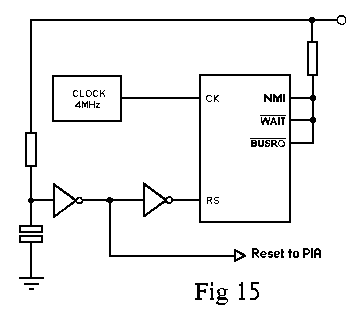
Note that Port C lower binary weightings connect to the keypad columns and the higher weightings to the rows. Fig. 14 shows how the system control and address lines connect to the CPU. Finally, the micro-computer has to have a system clock to drive it and an initializing reset to ensure the system switches on in a known state. Fig. 15 shows the conFig.uration we need to use in our system. It will be noted that there are very few passive components in a basic microcomputer. The main consideration in this article is to understand how each device connects to the Central Processing Unit via a system of common lines. When the relative simplicity of this becomes more evident, it should be an easier matter to follow the complete system diagram for a simple microcomputer such as the one described The next part of this series will explain the various programming modes of the Z80 and how to get our system one step further towards a working computer.
